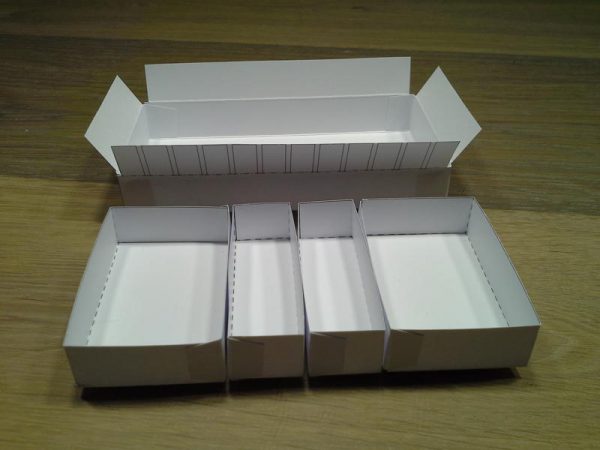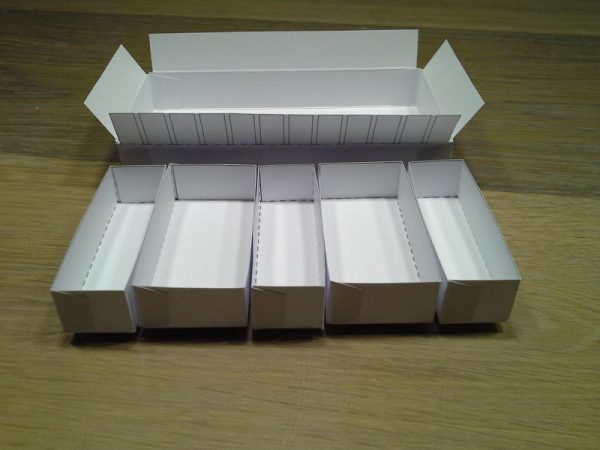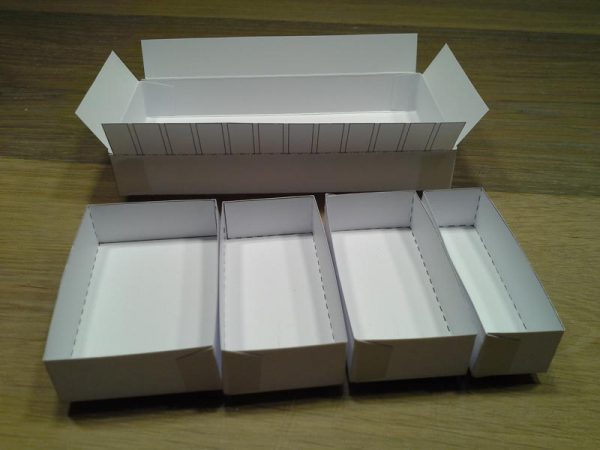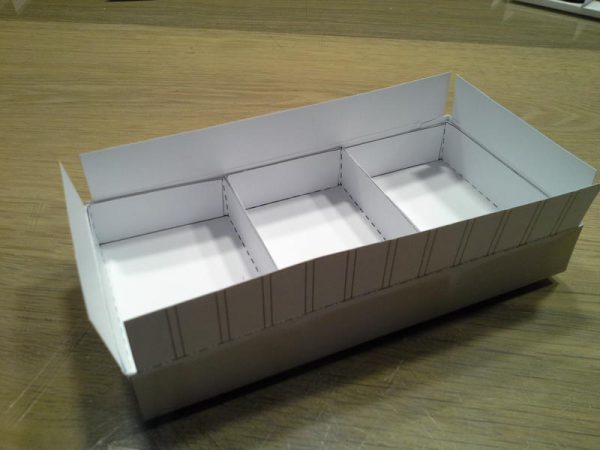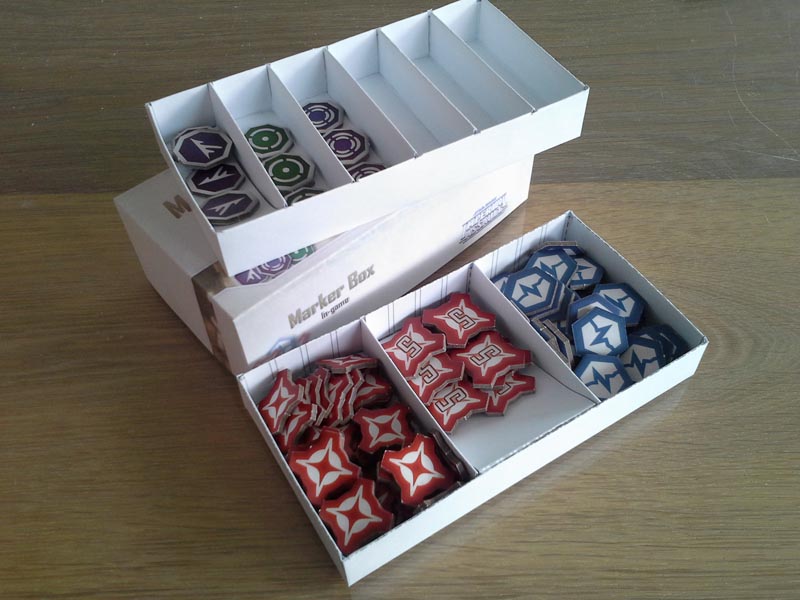
Modular Token Box
Overview
What is a ModularTokenBox?
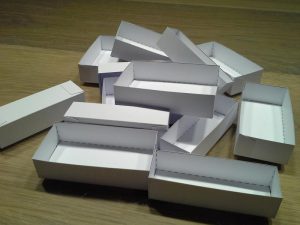
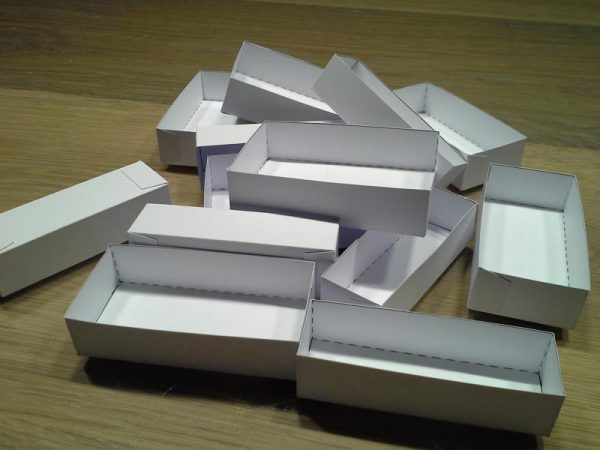
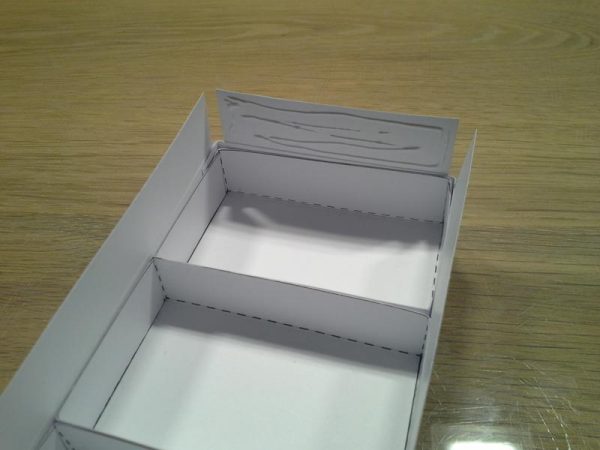
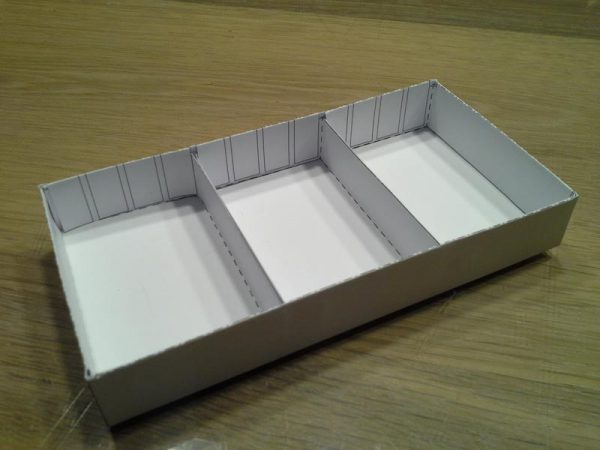
That’s easy, it’s simply a box to store all tokens and similar stuff for any given game. It really sucks if all this stuff moves freely inside the game box or if you have to sort everything before playing. Of course you can simply put everything in plastic bags, but come on, that’s not cool! Or you can buy a more or less expensive storage solution from Plano or the likes of it. This works fine, of course, but I really hate spending money on things like this, it simply feels better to only pay a few bucks for some cardstock and ink/toner and have fun building your own storage solution! Just print, fold, cut, glue and have fun!
Why “modular”?
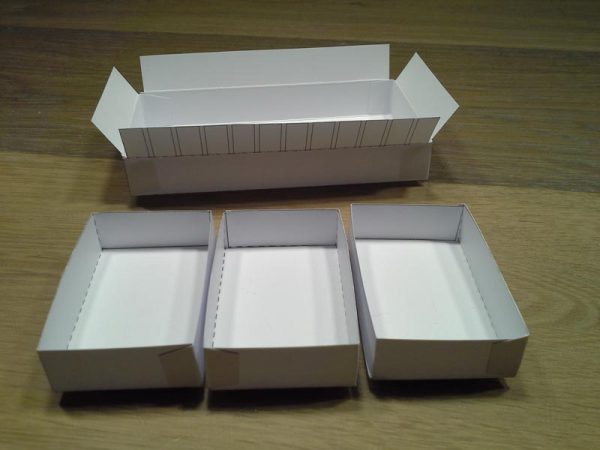
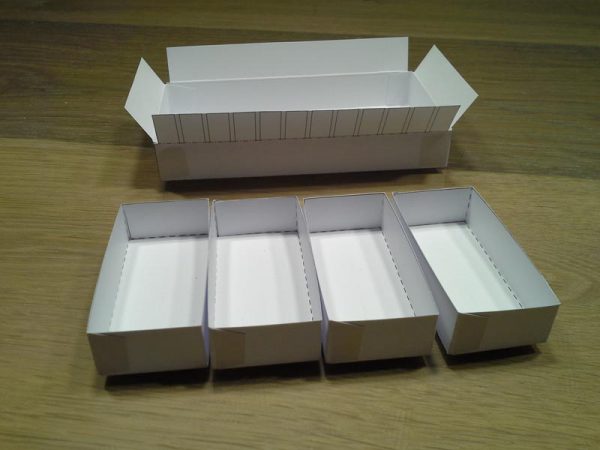
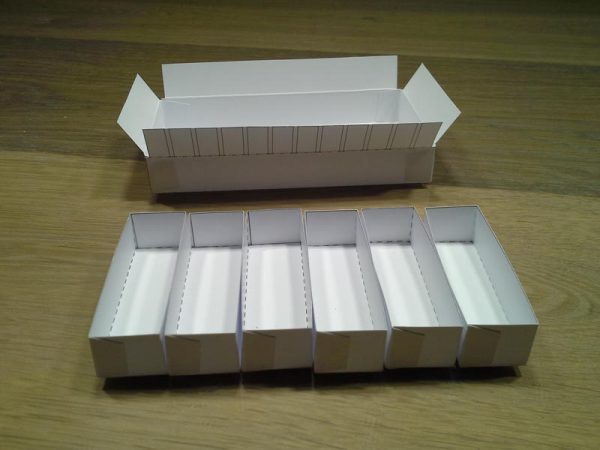
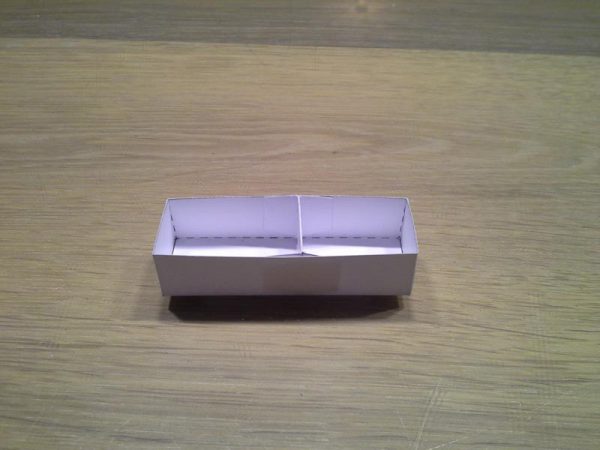
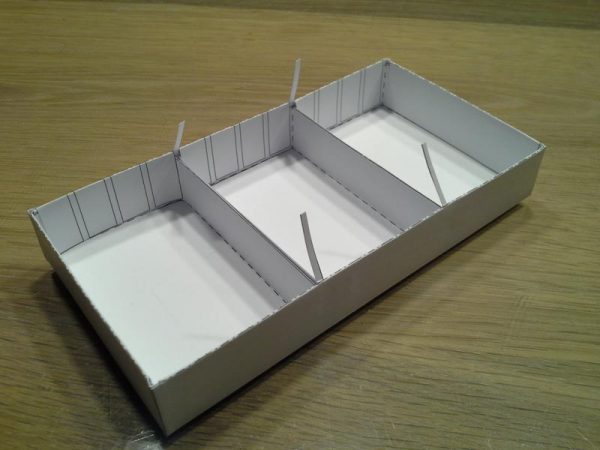
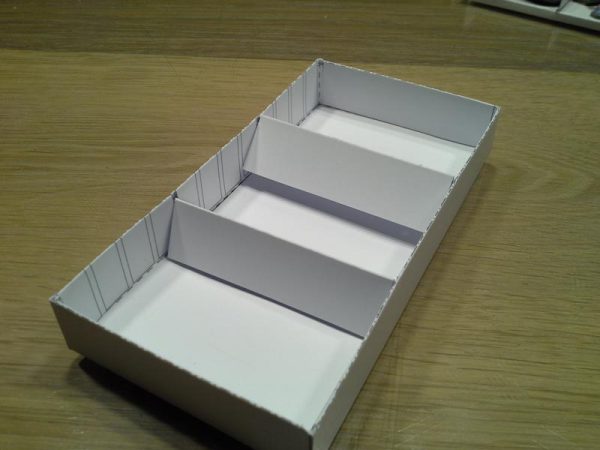
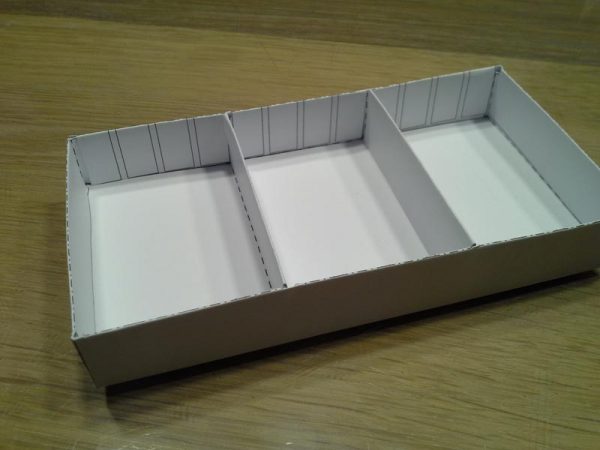
Even though the picture above shows an Imperial Assault box as example, I wanted to create a box or better say a box system that could be easily adapted to the needs of any given game. The TokenBox is modular because while building it you can choose between four different compartment sizes and arrange them inside the main box as you see fit. And after that there’s a lid for a single box as well as a lid for two boxes stacked on top of each other. The file from the download area contains a plain white box (and plain white lids), that you can pimp on your own, if you like. Unfortunately I don’t have any fancy lids for my supported games at the moment, simply because providing these is somewhat time consuming and I’ve got so much other stuff to do I had to prioritize. But you might find something useful in my Fanwork section.
Is it really sturdy?
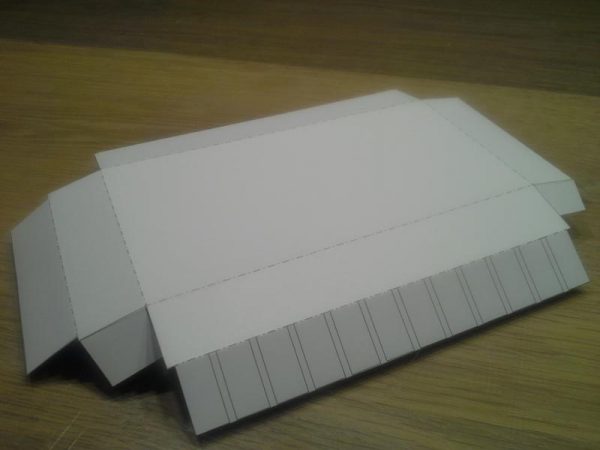
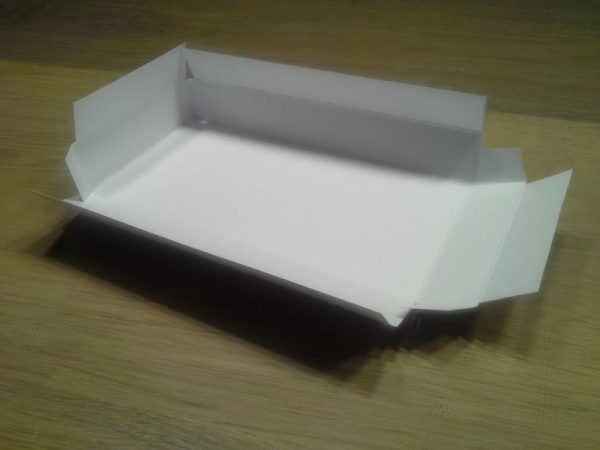
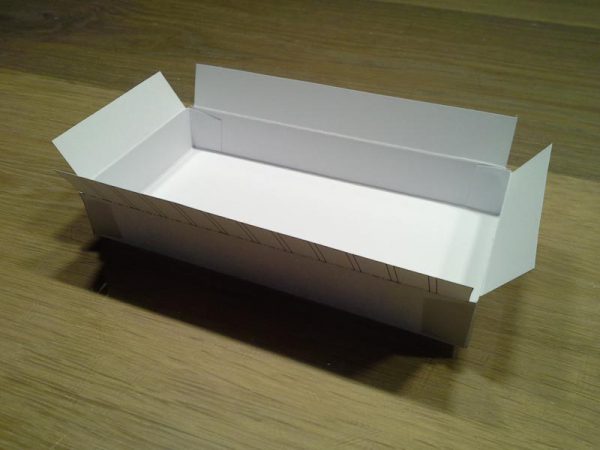
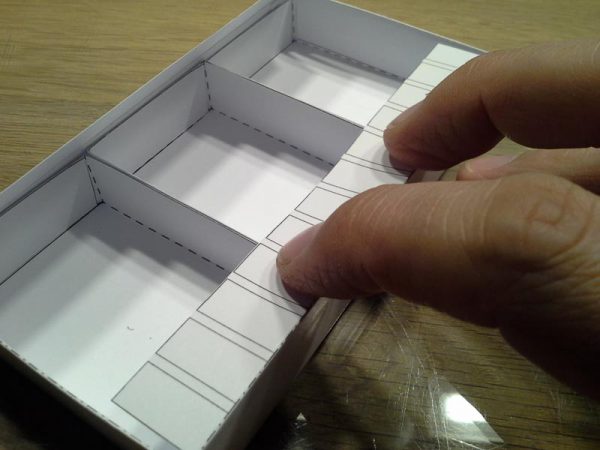
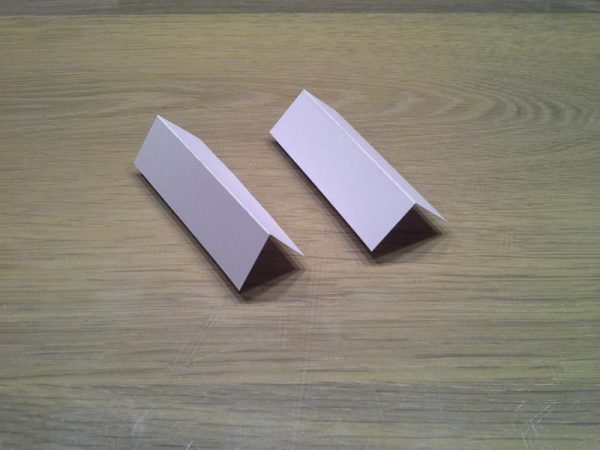
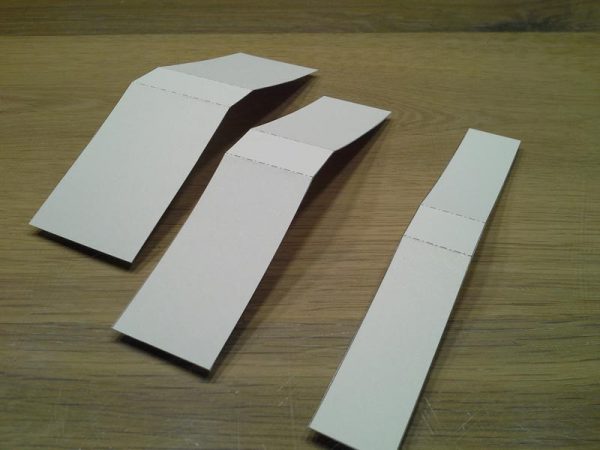
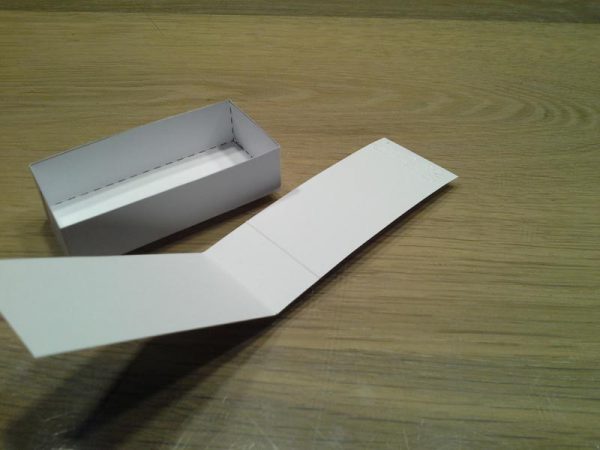
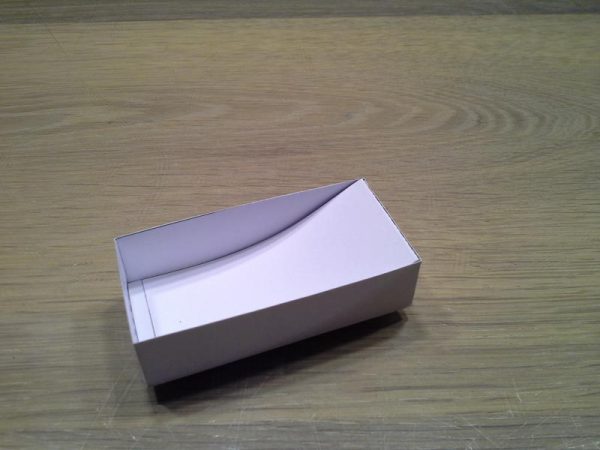
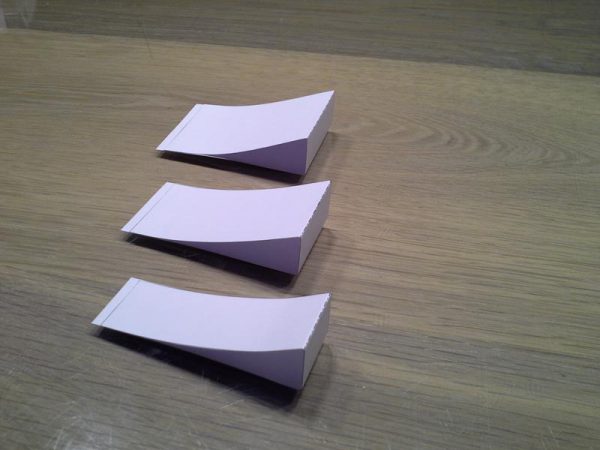
Oh yes, it is, and even handy at the same time. Furthermore there are a few extras beside the four compartment sizes (optional “ramps” that make it easier to grab tokens from not completely filled compartments and additional wall elements to further split the compartments). All infos and an illustrated step-by-step instruction can be found here.
Have fun, questions and feedback welcome!
Instructions
Anyway, here’s everything you need. Also check out the update infos underneath the instruction slider:
UPDATE: After building about a dozen of those boxes I came to think that it might be easier if you change the assembly process a bit:
- Build inner compartments first.
- Glue inner compartments together.
- Glue the whole compartment thing to the bottom of the main box while dry fitting the walls to make sure it fits exactly in the middle.
- Glue the walls, starting with the large wall with the flaps around the compartments.
- Glue the reinforcement flaps.
